Installation Manual for Post-Tensioning Bonded Prestressed Corrugated Metal Ducts
1. On-Site Duct Fabrication
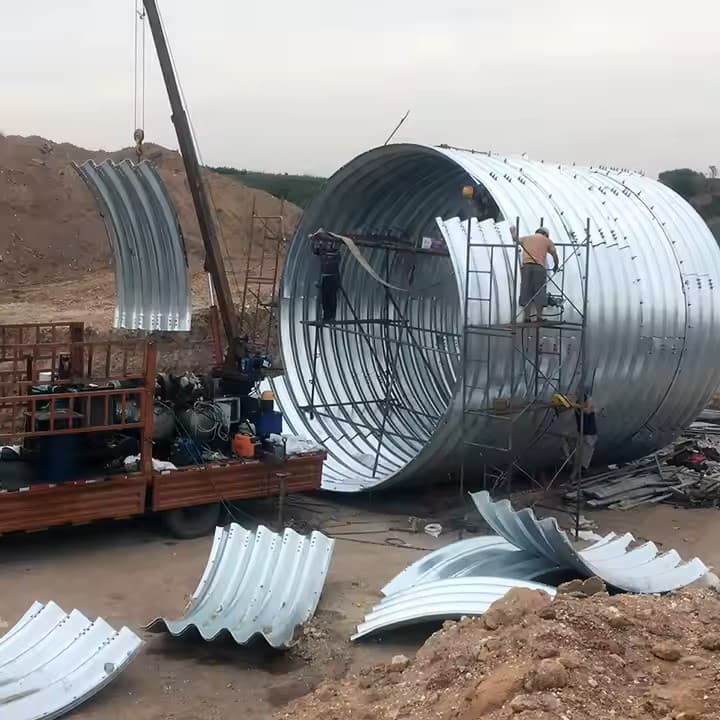
Bonded prestressed tendons typically use 6m-long corrugated ducts, field-spliced with 300mm overlaps. Specialized couplers may reduce overlap to 200mm.
2. End Anchorage Installation
After placing non-prestressed reinforcement cages, position anchor plates per approved construction drawings on formwork or reinforcement cages.
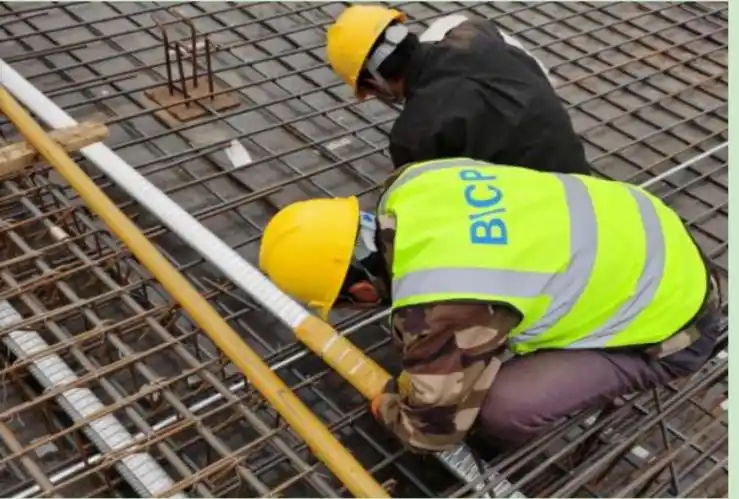
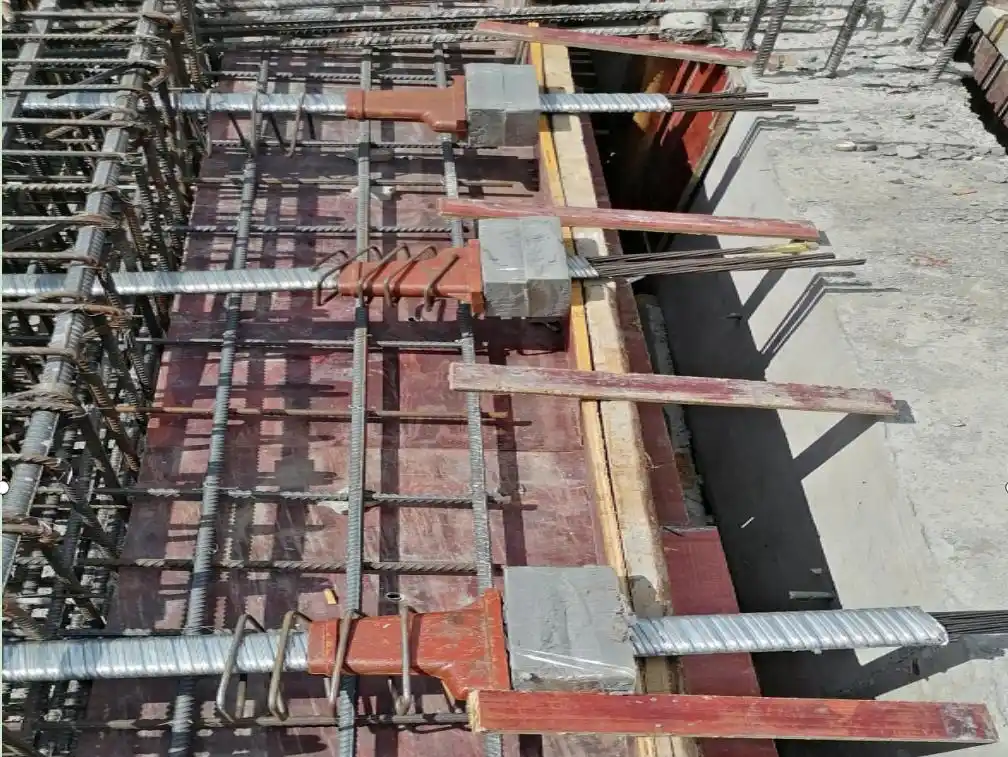
3. Duct Placement
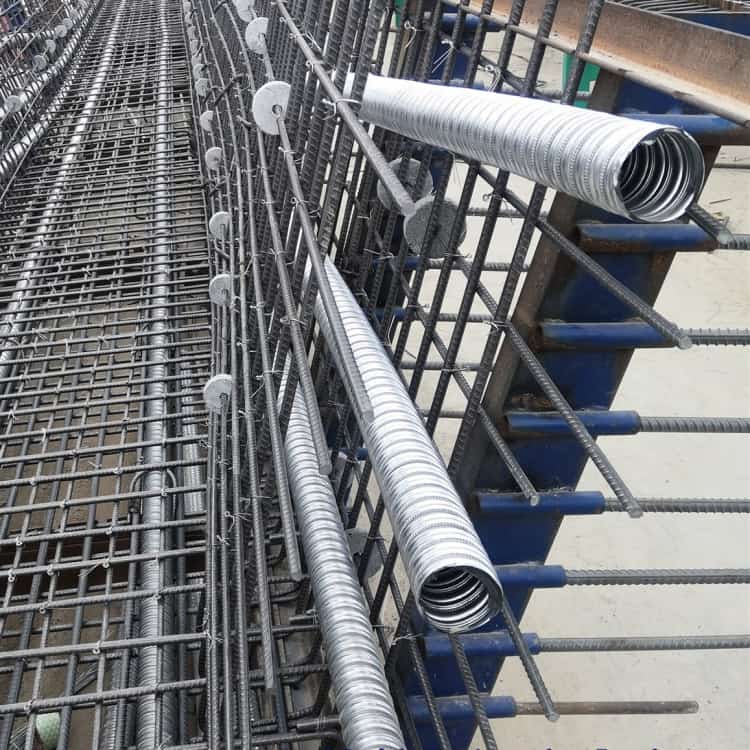
- (1) Align ducts with designer-approved vertical profile drawings, ensuring saddle height matches specified elevations.
- (2) For slabs: Two workers deploy ducts along X/Y-axis rebar grids. Seal duct-anchor plate joints with tape to prevent grout leakage.
- (3) In flat slabs, arrange tendon groups per curvature drawings to maintain designed parabolic profiles.
4. Placement Principles
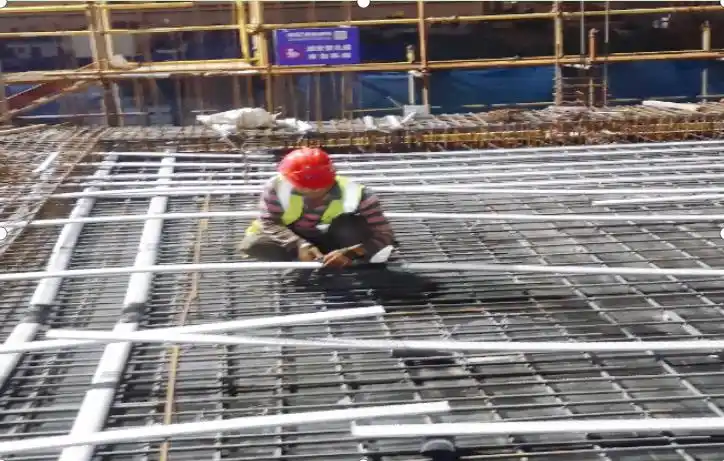
- (1) Maintain linear alignment without S-curves; center ducts symmetrically.
- (2) Avoid duct deformation or welding on ducts.
5. Tendon Installation
- (1) Cut strands with abrasive saws (no torch cutting). Length formula:
L = L1 (projected length) + L2 (curvature allowance: 1×member depth) + L3 (anchorage length: 1m if ≤20m span, else 1.8m). - (2) Install sequentially to prevent twisting. Options:
- Push-through via strand pusher
- Pre-assembled duct-tendon units lifted into place.
- (3) Critical Details:
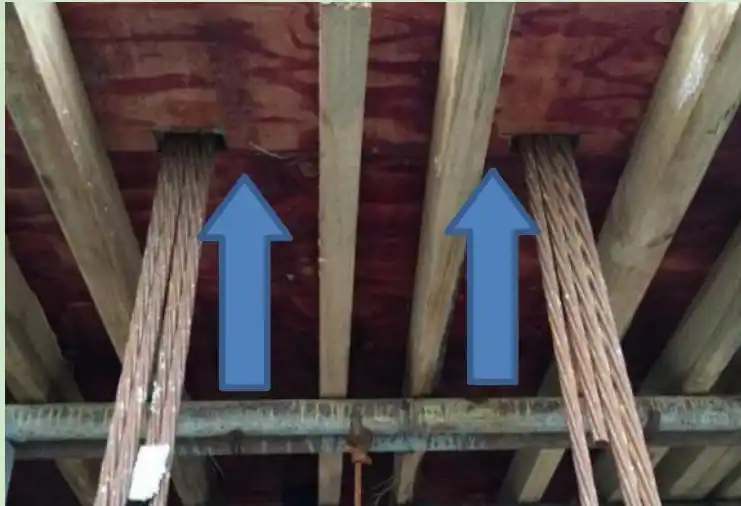
- Strands must extend beyond trumpet mouths for tensioning
- Seal all joints with waterproof tape
- Install spiral reinforcement behind anchorages.
- Protect ducts from welding spatter.
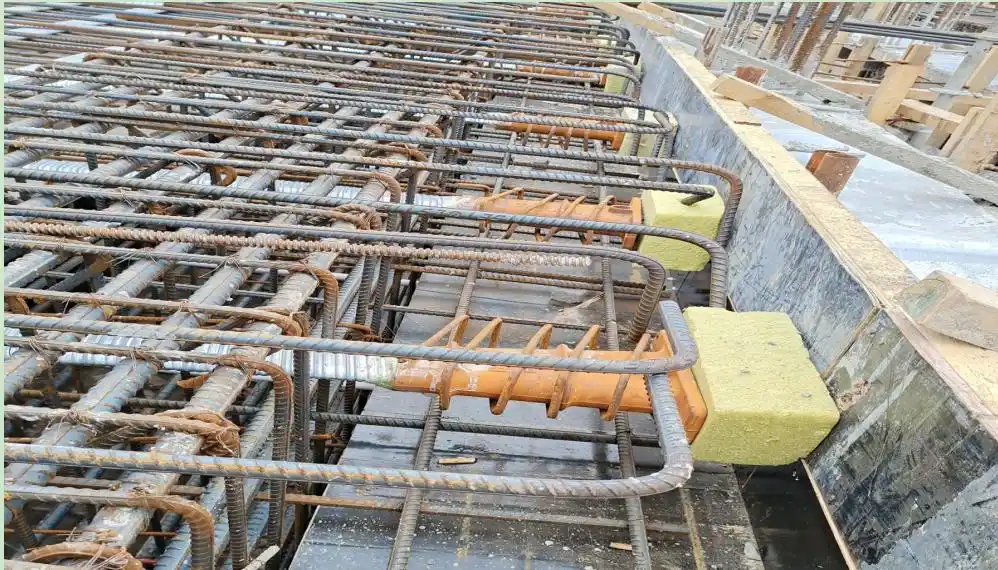
6. Formwork Integration
- (1) Recessed anchorages require formwork notching at (H/2-10mm) height before closing sides.
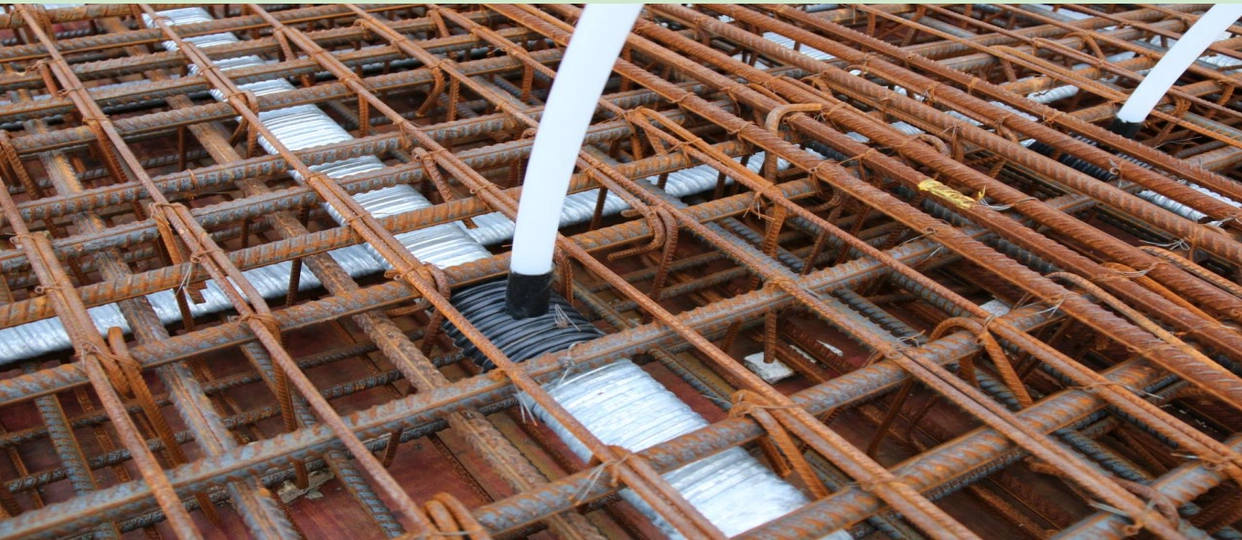
- (2) Position grout vents at high points (300mm above slab) and anchor plates.